깃허브 블로그(4) minimal-mistakes 테마 블로그
Github Repository 생성
- 버전 관리도구 git을 설치하고 프로젝트를 웹호스팅 하는 github를 이용해서 블로그를 호스팅한다.
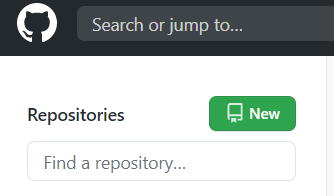
sudo apt-get install git #WSL에 git 설치 git --version #설치 후 정상설치 여부 확인 (설치 된 git version확인) - github 계정이 없다면 회원가입을 하고 메인화면 오른쪽 상단의 new 버튼을 눌러서 호스팅할 블로그의 Repository를 생성한다.
- Repository이름은 본인의 아이디 즉,
{id}.github.io로 해야 추후에 정상적으로 웹 호스팅이 된다.

Repository에 샘플 블로그 업로드
- 생성된 Repository에 샘플 블로그를 업로드한다.
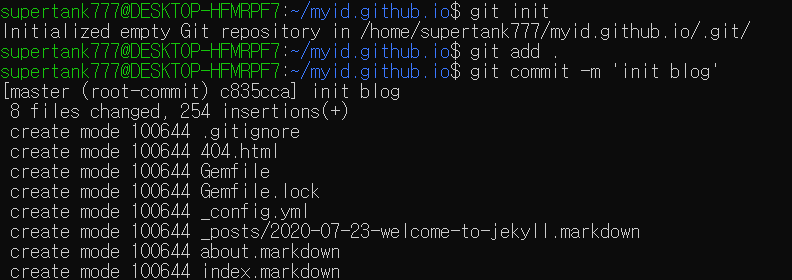
git init으로 저장소에 필요한 기본파일을.git이라는 하위 디렉토리를 만들고 계정의 Repository를 등록한다. - 생성된 본인의 Repository의 url를 복사하고
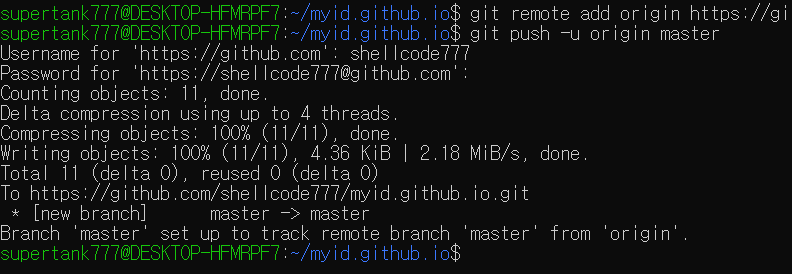
git remote add명령어를 이용해서 원격저장소에 연결하고git push로 업로드 한다.

git init git add. git commit -m '<commit에 대한 설명>' git remote add origin https://github.com/shellcode777/myid.github.io.git git push -u origin master //github id,pw 입력 - 모두 완료되면
{id}.github.io로 접근해서 호스팅이 정상적으로 되는지 확인해본다.
jekyll 테마 블로그 생성
- jekyll에서 제공하는 테마들 http://jekyllthemes.org/
- 개발역량이 되면 혼자서 블로그 테마를 구성할 수 있기도 하지만 jekyll에서 제공하는 여러가지 테마 중 많이 사용하는 minimal-takes 테마를 사용해서 구성해 볼 것이다.
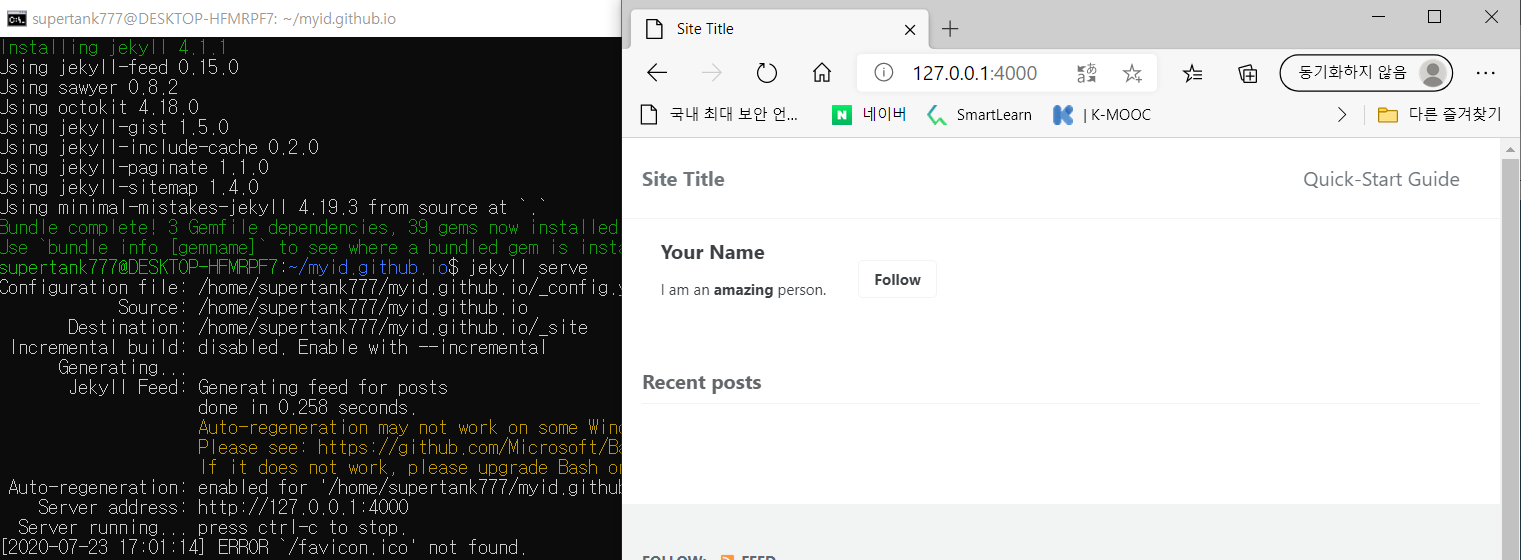
https://github.com/mmistakes/minimal-mistakes.git해당 url을 clone하고 관리의 편의성을 위해 원하는 디렉토리명으로 변경한다.git clone 'https://github.com/mmistakes/minimal-mistakes.git' mv minimal-mistakes myid.github.io- bundle 명령어로 필요한 파일들을 설치해주고 로컬에서 확인해본다.
bundle jekyll serve - clone한 minimal-mistakes의
remote origin을 본인 계정의 repository로 변경하고git push로 업로드 한다.git remote remove origin git remote add origin https://github.com/shellcode777/myid.github.io.git git push origin master #에러발생시 git push -u origin +master #sgithub id,pw 입력 - 본인 계정의 url
{id}.github.io로 이동하여 블로그가 호스팅 되는지 확인해본다.


